How To Enter a Dividers Contract
Save vs. Submit
The Dividers Contract DocType is a submittable DocType. This means that it must first be saved, then submitted. A Dividers Contract will affect reporting unless it is cancelled.
Instructions
Tip
Keep track of your place below by clicking on the gray checkmarks.
Tip
In order to reduce the impact of inerruptions, you should first ensure the customer is properly entered in the system.
- Start a new Dividers Contract Document.
- Fill out the form as described below, ignoring any sections or fields that are not listed.
-
Click the blue "Save" button in the upper-right corner above the form. The page will refresh and the new Dividers Contract Document will load.
-
Attach a digital copy of the contract to the Dividers Contract using the "Attachments" section in left column.
Help
- Click "Attach File +".
- Add the file to the upload list.
-
Click the blue "Upload" button.
-
Click the blue "Create" button in the upper-right corner above the form and select "Project". Then follow the steps for creating a finals Task for graphics
- Calculate the Commission Rate when it is known and add it under the "Commission" section.
Dividers Contract Form
Top Section
Help
Instructions for entering contacts can be found here.
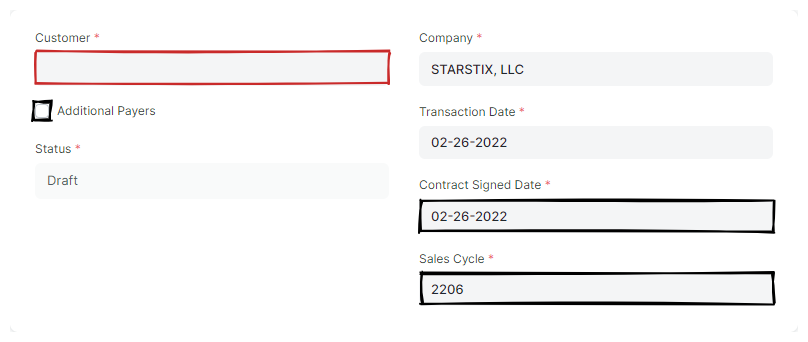
- Customer
- Select an existing (or create a new) Customer from the dropdown.
- Additional Payers
- Select this checkbox in order to add additional payers to the Dividers Contract.
- Contract Signed Date
- Enter the date the contract was signed if different than today.
Important
This field is used when naming the contract, so always make sure it is correct before saving.
- Sales Cycle
- Enter the Contract's sales cycle. Defaults to the current sales cycle.
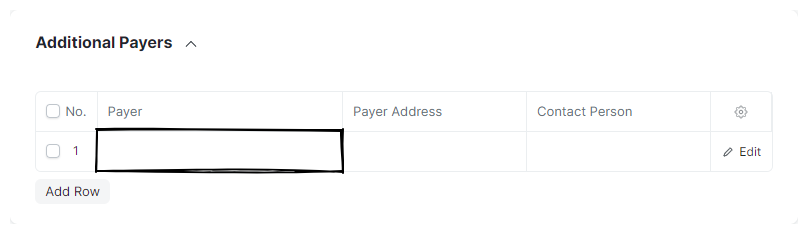
ADDITIONAL PAYERS (Optional)
This section allows you to add additional payers to the contract - typically other advertisers who bought part of the stick.
Click "Add Row" for each additional payer.
- Payer
- Select an existing or create a new Customer from the dropdown.
RESERVATION INFORMATION Section
- Industry
- Verify the Customer's industry is correct.
- Reservation Is Exclusive
- Select this to indicate the contract is exclusive.
- Autorenewal
- Select this if autorenewal was selected on the contract.
- Start Cycle/Date
- Enter the cycle or date of the first reservation.

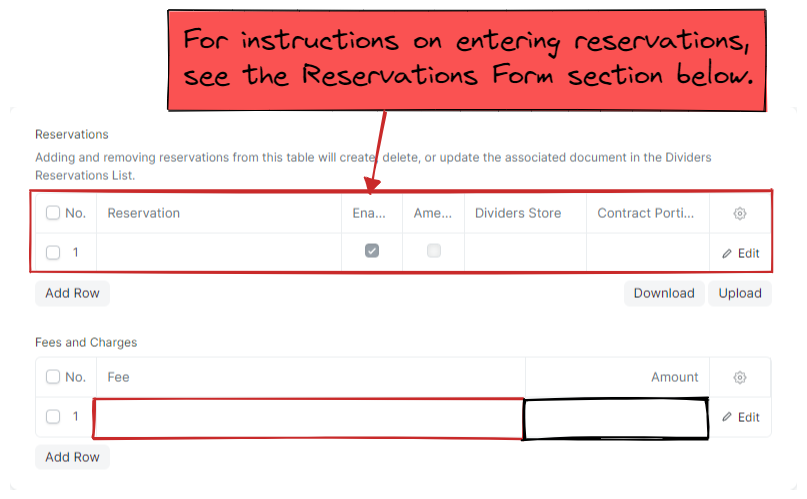
RESERVATIONS Section
- Reservations
- See Entering Reservations below
- Fees and Charges
-
Add a row for each fee or charge listed on the contract.
- Fee
- Select the fee from the list of options.
- Amount
- Enter the amount of the fee if it differs from the default value.
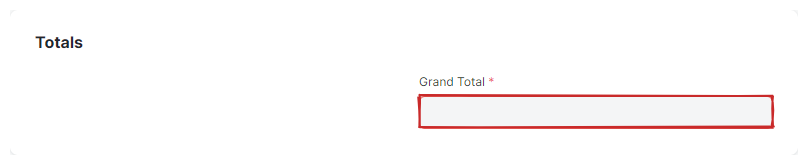
TOTALS Section
- Grand Total
- Enter the total value of the contract.
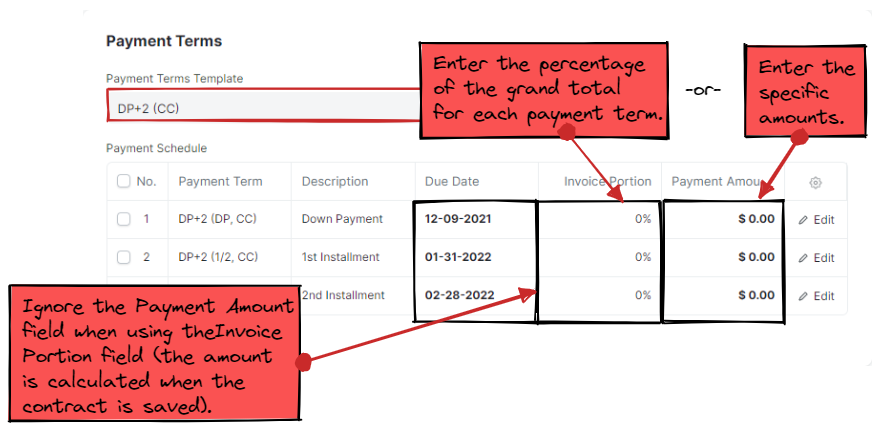
PAYMENT TERMS Section
Attention
While this field is not required in order to save the Sales Order, it is used in reporting.
- Payment Terms Template
- Select a Payment Terms Template to pre-fill the Payment Schedule Table Field.
- Payment Schedule
-
Enter the payment schedule here.
- Due Date
- Verify the Due Dates are correct.
Info
Calculating the Payment Amount based on the Invoice Portion can fail due to rounding errors. Consider the following scenarios:
- The invoice portion is a repeting decimal, like 33.33...% (1/3), or 16.66...% (1/6). The rounded sum will not euqal 100% (try it!).
- Percentages that calculate Payment Amounts of a fraction of a cent that require rounding.
- Invoice Portion
- (Optional) Enter the percentage of the total for each payment here, and ERPNext will attempt to calculate the Payment Amount for you when saving the contract. If the system encounters a rounding error you will see the following message: "Total Payment Amount in Payment Schedule must be equal to Grand / Rounded Total". In that case, set/leave the Invoice Portion column at 0% and enter the Payment Amount column manually.
Bug
There is a bug that can cause strange behavior in the Payment Schedule Table Field. To work around the bug:
- Clear the Payment Terms Template field (do not skip this step!).
- Re-select the Payment Terms Template field.
This will repopulate the Payment Schedule Table Field with new rows.
- Payment Amount
-
Enter the payment amount for each scheduled payment here, unless you are using the Invoice Portion to calculate it for you.
After entering a value, the remaing portion of the Dividers Contract will automatically populate in the next row.
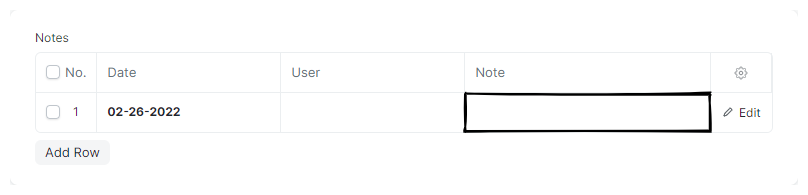
NOTES Section
- Notes
-
If you have notes that should be saved with the contract, enter them here.
- Note
- Enter the note you want to record. Other users cannot alter your note.
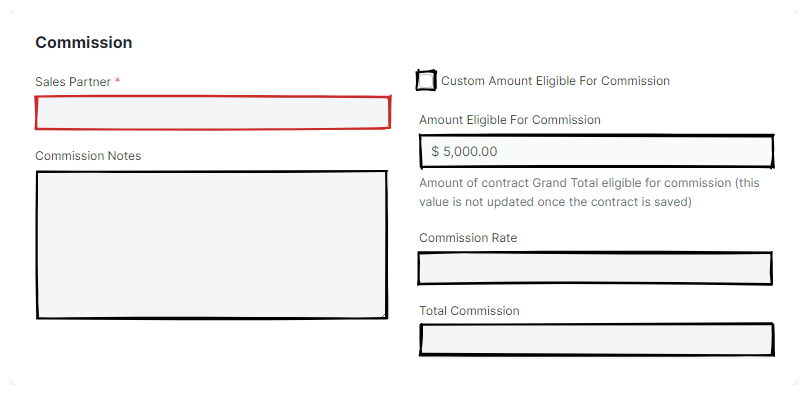
COMMISSION Section
- Sales Partner
- Select the Sales Partner that sold the contract.
- Commission Notes
- Enter any relevant notes about the commission calculation here.
- Custom Amount Eligible For Commission
- Select this checkbox if you need to adjust the amount eligible for commission.
Tip
You can enter either the Commission Rate or the Total Commission, and the related field will be updated accordingly. Defference is given the Total Commission field when it has a value.
Note that the default value for autorenewal commissions is calculated based on using the value stored in the Commission Rate field.
- Commission Rate
- Enter the commission rate to automatically calculate the Total Commission, or leave it blank to allow it to be calculated instead.
- Total Commission
- Enter the total commission for the contract. Entering in a value for this field will automatically calculate the Commission Rate.
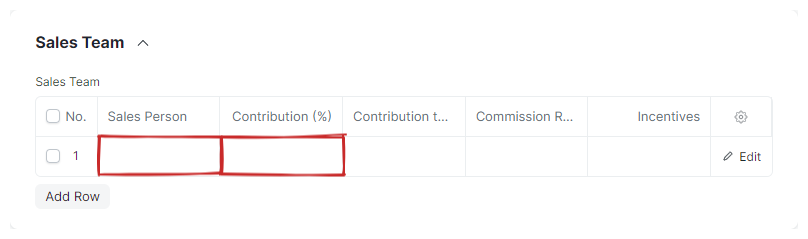
SALES TEAM Section
- Sales Team
-
Fill in any Sales Persons involved with the sale of the Contract. Only the "Sales Person" field should be filled out, since contribution and incentives are controlled by our Sales Partners.
Click "Add Row" for each additional Sales Person.
- Sales Person
- Enter the Sales Person.
- Contribution
- Enter the contribution. The contribution should total 100%
Reservations Form
Top Section
- Reserve Inventory Space
- Deselect this checkbox to keep the reserved space in sellable inventory. The reservation will remain active unless "Enabled" is unchecked.

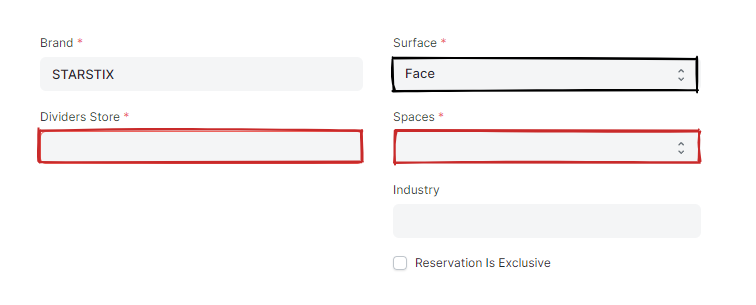
2nd Section
- Dividers Store
- Select the Dividers Store to reserve from the list of options.
- Surface
- Select the reservation's surface if it is non-standard.
- Spaces
- Select the number of spaces to reserve.
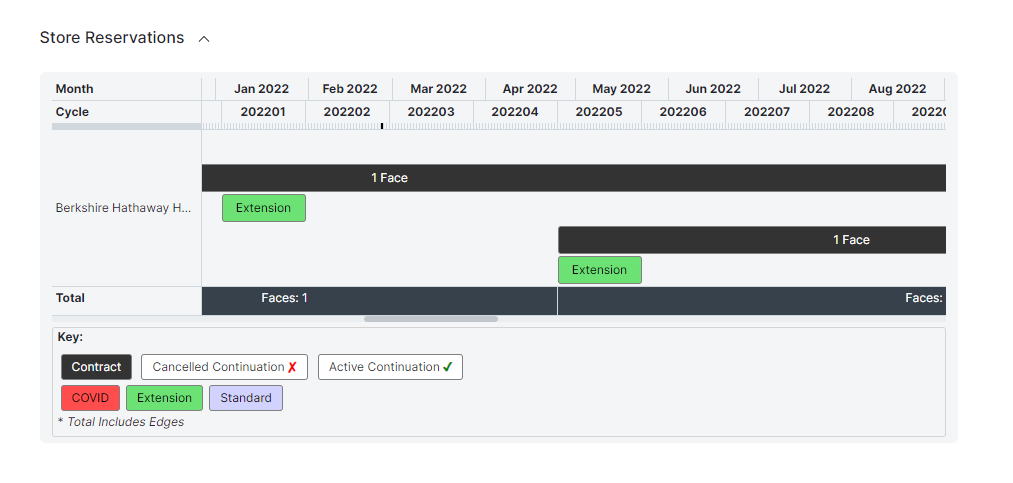
Store Reservations Section
Use this section to view a chart of existing reservations for this store, such as the one below.
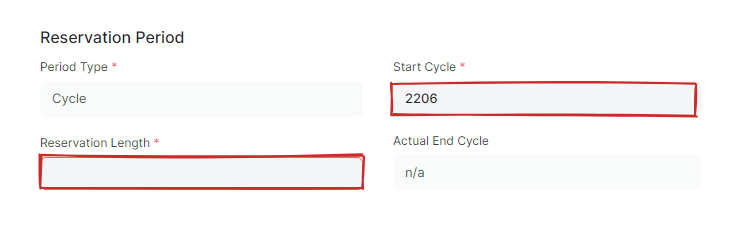
Reservation Period Section
- Reservation Length
- Enter the length of the reservation here (typically 6, 12, or 13)
- Start Cycle/Date
- Enter the start of the reservation here.