How To Enter a New Customer
Abstract
A Customer may be linked with various DocTypes, including the Dividers Contract and Project DocTypes, among others. It may also be created as a standalone record without links to any other Documents.
Tip
Keep track of your place below by clicking on the gray checkmarks.
Instructions
- Start a new Customer Document. If the Quick Entry form is displayed, click the "Edit in full page" button at the bottom-left of the form.
- Fill out the form as described below, ignoring any sections or fields that are not listed.
- Click the blue "Save" button in the upper-right corner above the form. The page will refresh and the new Customer Document will load.
- Scroll down to the ADDRESS AND CONTACT Section and click "New
Address". You will be taken to the new Address form. Fill out the
form following the instructions for entering
addresses. After Saving the new Address form
(you may need to click "Save" a second time"), you will be taken
back to this form.
- Repeat for each Address.
- Scroll down to the ADDRESS AND CONTACT Section and click "New
Contact". You will be taken to the new Contact form. Fill out the
form following the instructions for entering
contacts. After Saving the new Contact form
(you may need to click "Save" a second time"), you will be taken
back to this form.
- Repeat for each Contact.
- Scroll down to the PRIMARY ADDRESS AND CONTACT DETAIL Section.
- Select the Customer Primary Contact from the list of options.
- Select the Customer Primary Address from the list of options.
- Save the document for the final time.
- Look up the Customer in the Lead List
- In the upper-right corner of the Lead Document, click on the "Create" dropdown button and select "Customer".
- Using the description below, look over the form below for any missing or incorrect information and update it appropriately.
- Click the blue "Save" button in the upper-right corner above the form. The page will refresh and the new Customer Document will load.
Missing an Address?
- Click "New Address". You will be taken to the new Address form.
Fill out the form following the instructions for entering
addresses. After Saving the new Address form
(you may need to click "Save" a second time"), you will be taken
back to this form.
- Repeat for each Address.
Missing a Contact?
- Click "New Contact". You will be taken to the new Contact form.
Fill out the form following the instructions for entering
contacts. After Saving the new Contact form
(you may need to click "Save" a second time"), you will be taken
back to this form.
- Repeat for each Contact.
- Scroll down to the ADDRESS AND CONTACT Section and verify at least one Address and Contact matches the records you have.
- Scroll down to the PRIMARY ADDRESS AND CONTACT DETAIL Section.
- Select the Customer Primary Contact from the list of options.
- Select the Customer Primary Address from the list of options.
- Save the document for the final time.
Customer Form
Top Section
- Full Name
-
Further Reading
The business name. This is NOT the name of the contact!
Customer Naming Rules
Use the format
[FIRST] [LAST] - [COMPANY]. For example,- John Doe - RE/MAX
- Jeremy Pratt - Jeremy's Garage
- Type
-
Set Type to "Company" in almost all cases.
- Customer Group
-
Select an appropriate Customer Group from the list.
- Tax Category
-
There are no instructions for this field at this time.

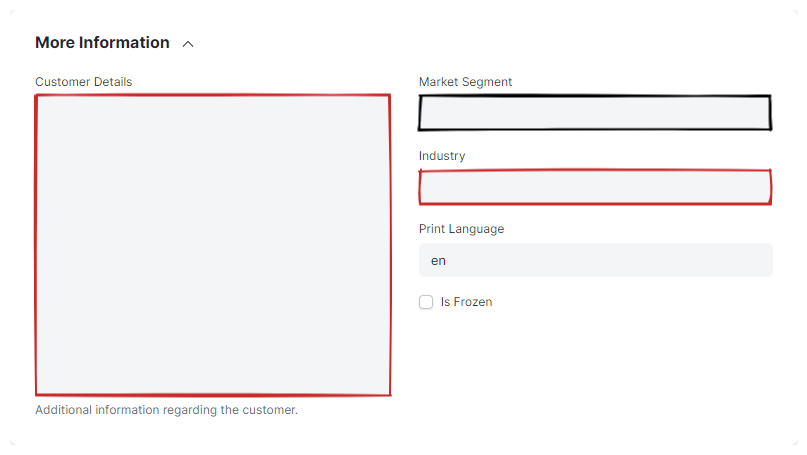
MORE INFORMATION Section
- Customer Details
-
Fill in this field with any relevant notes on the customer you have access to for CRM purposes.
- Market Segment
-
If you know the market segment the Customer belongs to, select it here.
- Industry
-
Select the Customer's industry.
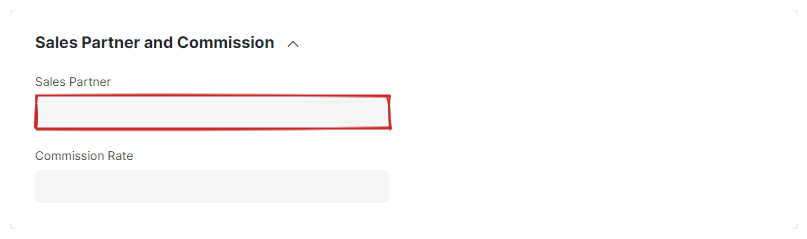
SALES PARTNER AND COMMISSION Section
- Sales Partner
-
Select the Sales Partner (ISO) that acquired the Customer here.
- Commission Rate
-
Ignore this field.